Sourdough Peanut Butter Ball Recipe

Made Interesting With Organic Pumpkin and Whole Wheat and Rice Flour
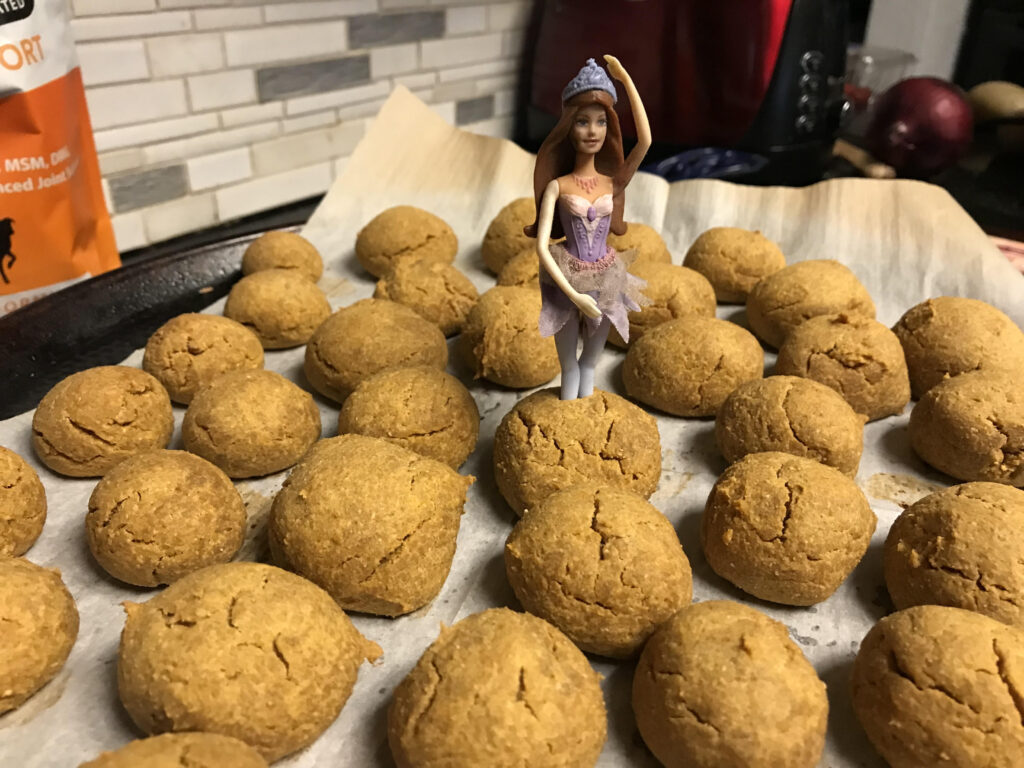
Photo of Kelly R. Smith   by Kelly R. Smith; © 2022

Sourdough peanut butter balls, complete with ballerina
index sitemap advanced

Ads we feature have been independently selected and reviewed. If you make a purchase using the links included, we may earn a commission, which helps support the site. Thank you for your support.

I’ve been enjoying the world of sourdough baking lately. I enjoy the classics but what I really love is coming up with my own creations, quite often to the dismay of my wife — She-Who-Must-Be-Obeyed. Come on; I jest. Earlier this month I unleashed my Sourdough Focaccia recipe. Yesterday I came up with this sourdough peanut butter ball concoction.

It all started as a brain-storming session for a dog treat variation. I already make my own chicken jerky for dog treats. One similarity betwixt that one and this is that they are both suitable for both human and canine consumption. Win-win!!

Our vet had recommended adding canned pumpkin to our homemade dog food both the nutrition value and to maintain peak “regularity” if you get my drift. And the peanut butter? Loads of nutrition and protein. Not to mention flavor! Approved by all our rescue dogs.

If you make these balls 1″ to a quarter inch larger, like I do, this one batch will yield about 60 servings. Yes, you and the kids will love these, but so will your dog. But, tell me again, how much are you paying per paltry ounce for dog treats? (Forehead-slapping moment.)


Sourdough Ball Ingredients

Use organic ingredients when possible.

  • 1 cup sourdough starter
  • 1/2 cup organic steel cut oats
  • 3/4 cup canned organic pumpkin
  • 1/2 cup peanut butter
  • 1/3 cup coconut flour
  • Approximately 2 cups whole wheat flour
  • 2 large eggs

Preparation

  1. Mix sourdough starter and oats in a large mixing bowl. This allows the oats to absorb liquid from the sourdough starter.
  2. cover the bowl with a damp washcloth and let the mixture rest for at least 3 hours. You could do this before going to work and do the baking this afternoon.
  3. Stir or whisk in the pumpkin, peanut butter, eggs, and coconut flour.
  4. Start mixing and stirring in the whole wheat bit by bit. You know the drill; it’s like preparing bread dough. When it gets hard to stir, cease and desist. Time to move on.
  5. Preheat the oven to 350℉.
  6. Get out your pizza pan and a medium-sized sheet pan.
  7. Roll ball of dough in the palms of your hands and place them on the parchment paper, one by one. Each ball that I make is 1″ to a quarter inch larger, but you make it to suit you. They don’t rise much so they can be neighborly and sit close.
  8. Bake for 20 minutes.
  9. Remove (after passing the toothpick test) and set aside to cool.

Frankie dog waiting for a homemade treat.
Frankie doesn’t see much sense in the cooling-down phase

More Recipes and Related Content to Explore


Looking for more great content? Visit our main page or partner sites:

Considered Opinions Forum

I Can Fix Up My Home

The Green Frugal

Running Across Texas


As Featured On Ezine Articles

I offer article and blog-writing services. Interested? Contact me for a quote!


Did you find this article helpful? Millions of readers rely on information on this blog and our main site to stay informed and find meaningful solutions. Please chip in as little as $3 to keep this site free for all.


Visit Kelly’s profile on Pinterest.

About the Author:

Photo of Kelly R. SmithKelly R. Smith is an Air Force veteran and was a commercial carpenter for 20 years before returning to night school at the University of Houston where he earned a Bachelor’s Degree in Computer Science. After working at NASA for a few years, he went on to develop software for the transportation, financial, and energy-trading industries. He has been writing, in one capacity or another, since he could hold a pencil. As a freelance writer now, he specializes in producing articles and blog content for a variety of clients. His personal blog is at Considered Opinions Blog where he muses on many different topics.

Sourdough Focaccia Recipe

This Spiced Italian Comfort Food is Excellent as an Appetizer, Side Dish, or Main Course

Photo of Kelly R. Smith   by Kelly R. Smith; © 2022

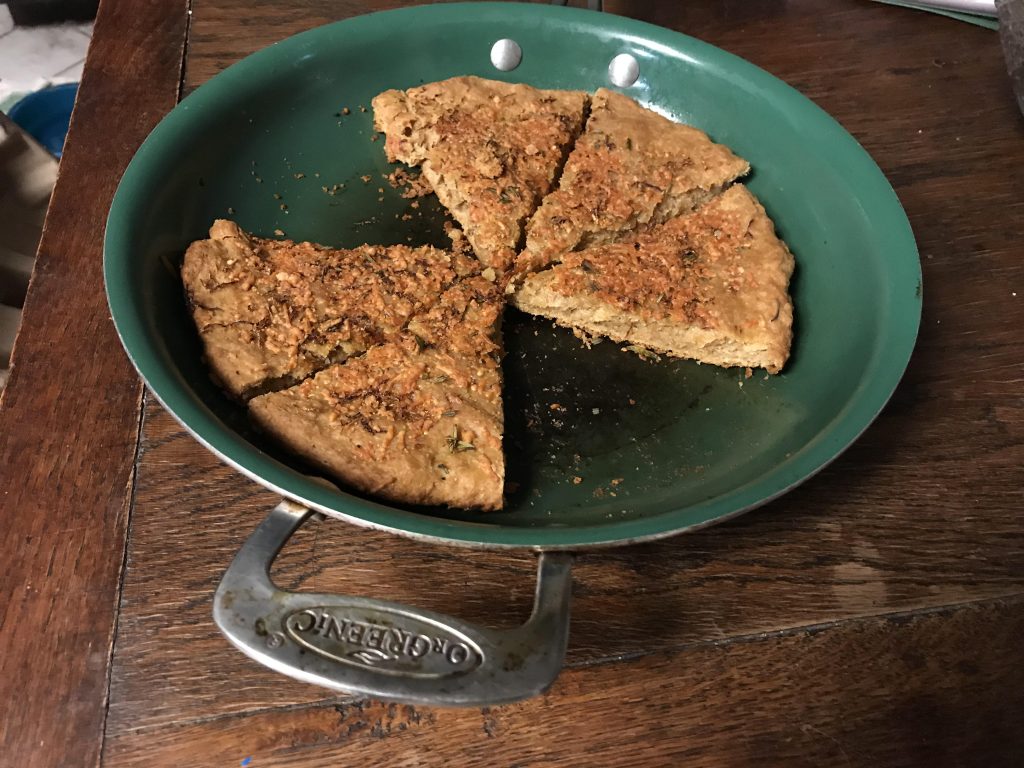
Sourdough focaccia in a skillet
index sitemap advanced

Ads we feature have been independently selected and reviewed. If you make a purchase using the links included, we may earn a commission, which helps support the site. Thank you for your support.

Sourdough focaccia is one of those wonderful Italian dishes that is enjoyed by itself as an appetizer or as a meal unto itself. In our home, we do either, depending on our mood, just like my guacamole recipe. With this recipe, it emerges with a delicious, chewy tang and a mouth-watering golden crust. It all starts with your beloved starter. Don’t have one yet? Here are three ways to get your sourdough starter going.

Is focaccia the same as pizza crust? No! However, it is thought to be a precursor of pizza when it was a flatbread known to Romans as panis focacius, to which toppings were then added. Modern pizza evolved from similar flatbread dishes in Naples, Italy, in the 18th or early 19th century.


Sourdough Focaccia Ingredient List

  • 1 cup sourdough starter
  • 1 cup warm water
  • 1 tablespooln honey
  • 1 teaspoon pink Himalayan salt
  • 3 tablespoons extra-virgin olive oil
  • 3/4 cup diced onion
  • Approximately 5 cups of flour


Preparation

  1. Mix the starter, honey, and water in a large mixing bowl. A cast iron skillet is perfect. It will look like a big blob, and that’s okay! Us your hands to pull the edges out to gently stretch them. Your dough should be about 1 1/2 inches tall. Don’t stretch any more. Let it rise in a warm spot. Cover it with another piece of cookware, upside down, so it has room to rise for 2-3 hours hours until it is puffy and very bubbly.
  2. Preheat oven to 425 degrees F.
  3. Drizzle the top of the dough with olive oil Press your fingertips using your whole hand into the risen dough. Your fingertips should go all the way down through the dough until you feel the pan.
  4. Put your pan in the oven on middle rack. Bake for 15 minutes. Remove it for a moment and brush the top with melted butter, garlic, and oregano. Turn your oven down to 400 degrees F. Bake it for another 10 or so minutes until the crust is golden brown and bounces back a wee bit when you press down on it. Let it cool for 15 minutes, cut. and enjoy.


Looking for more great content? Visit our main page or partner sites:

Considered Opinions Forum

I Can Fix Up My Home

The Green Frugal

Running Across Texas


As Featured On Ezine Articles

I offer article and blog-writing services. Interested? Contact me for a quote!


Did you find this article helpful? Millions of readers rely on information on this blog and our main site to stay informed and find meaningful solutions. Please chip in as little as $3 to keep this site free for all.


Visit Kelly’s profile on Pinterest.

About the Author:

Photo of Kelly R. SmithKelly R. Smith is an Air Force veteran and was a commercial carpenter for 20 years before returning to night school at the University of Houston where he earned a Bachelor’s Degree in Computer Science. After working at NASA for a few years, he went on to develop software for the transportation, financial, and energy-trading industries. He has been writing, in one capacity or another, since he could hold a pencil. As a freelance writer now, he specializes in producing articles and blog content for a variety of clients. His personal blog is at Considered Opinions Blog where he muses on many different topics.

Easy Homemade Mac and Cheese Recipe

Homemade Mac and Cheese

Traditional Comfort Food Your Kids Will Eat And Beg For More

Photo of Kelly R. Smith   by Kelly R. Smith; © 2022

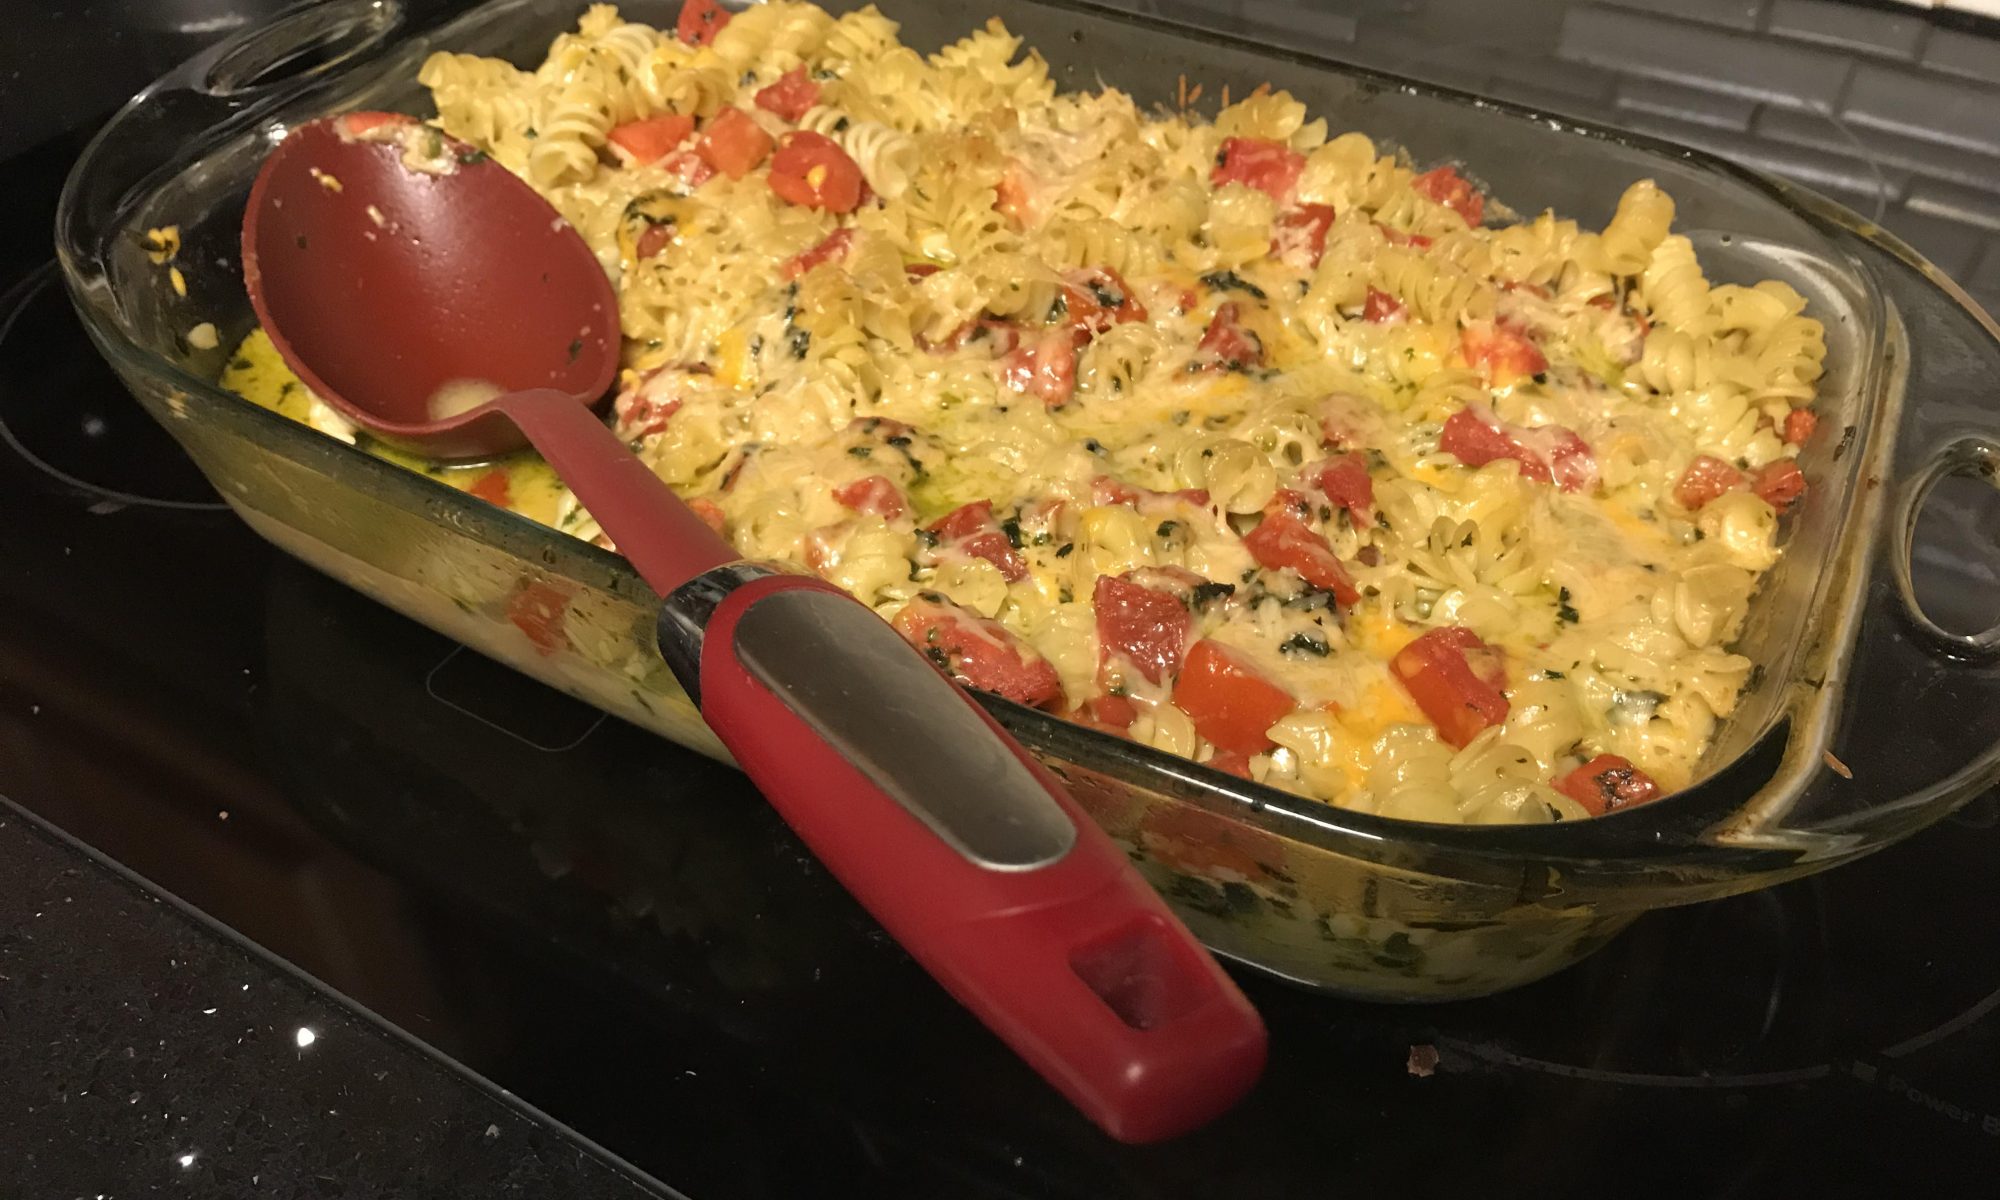
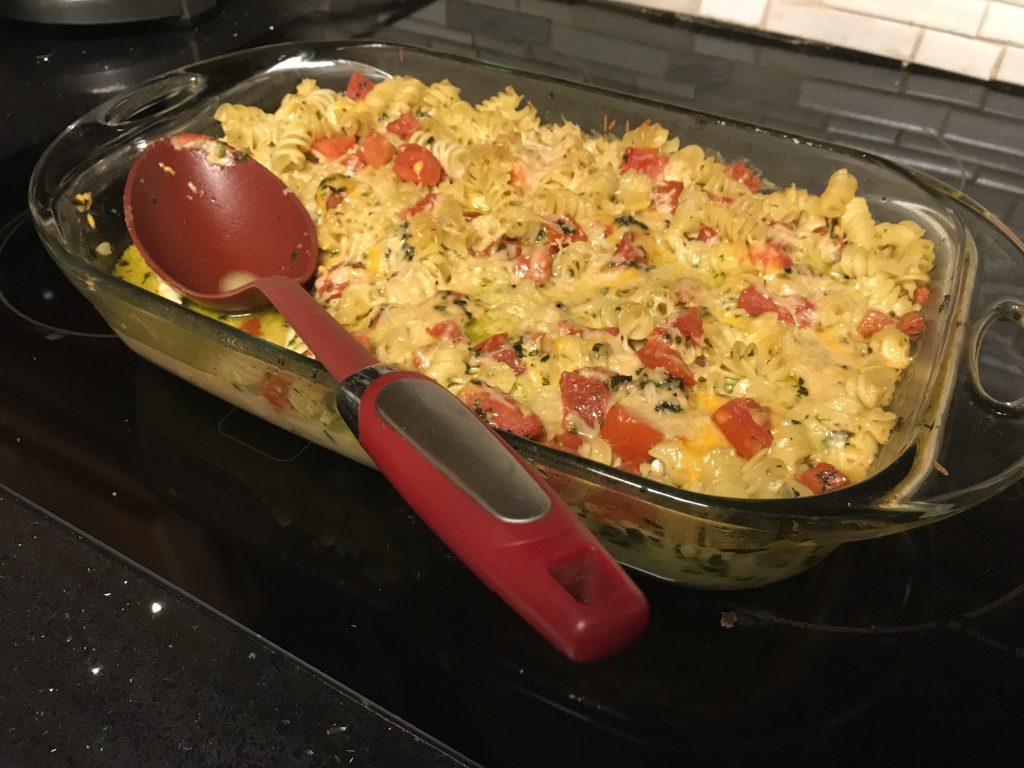
Homemade mac and cheese comfort food
index sitemap advanced

Ads we feature have been independently selected and reviewed. If you make a purchase using the links included, we may earn commission, which helps support the site.

This article was updated on 04/03/22.

This Homemade mac and cheese is one of the favorite comfort foods in our humble abode, right up there with my ranch dressing cheeseburger. Even picky kids love it so you can slip in some vegetables if you like (hint, hint). It takes a little longer to make than that boxed stuff, but you have to ask, what is that yellow powder anyway? Soylent yellow? As with all recipes, I use as much organic ingredients as possible, and out of my own garden when possible.

Mac and Cheese Ingredients

  • 1 lb. rigatoni or the pasta shape of your choice. I like the whole wheat variety but hey, you’ve got to get the kids to eat it, right?
  • Organic butter for your baking dish
  • 2 cups Half-and-Half
  • 1/2 lb. mozzarella cheese cut into 1/2” squares or shredded
  • Kosher or pink Himalayan salt to taste
  • Freshly-ground pepper to taste
  • 2 cups of grated Parmigiano-Reggiano cheese if you can find it + a hand-full; I sometimes substitute shredded Swiss for the Reggiano
  • 7 Roma tomatoes, diced
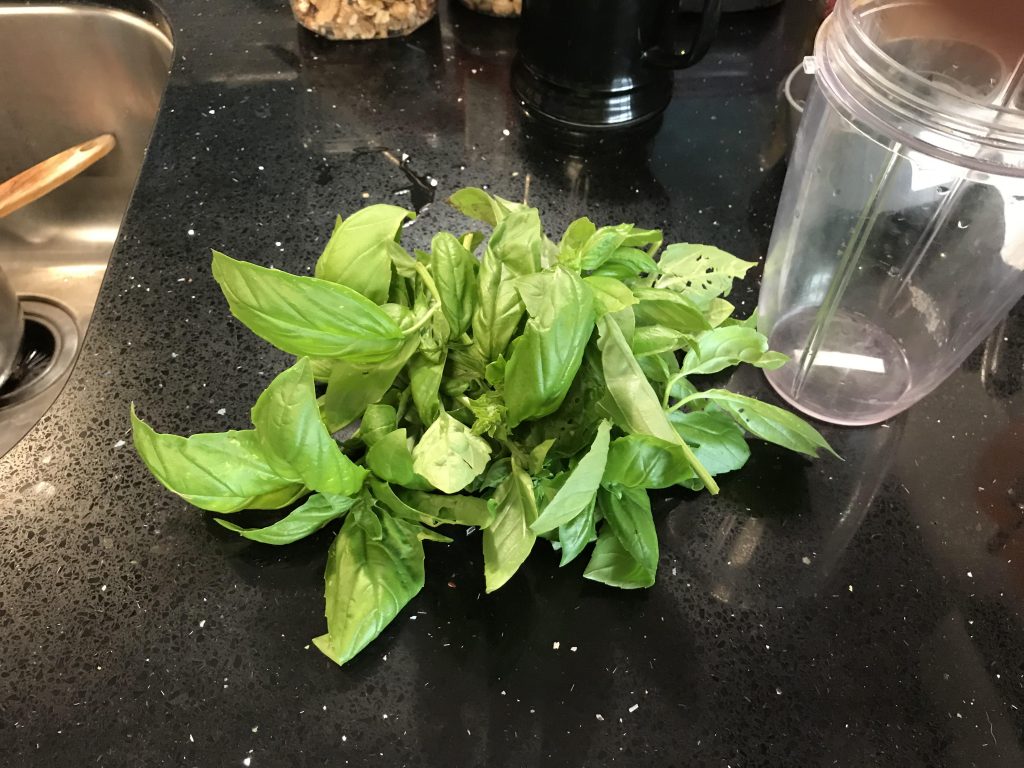
  • 35 organic basil leaves, cut into strips, more or less according to your taste. This is just one more reason to keep an organic spice garden. If you don’t have, or can’t find, fresh basil, use basil paste.
Fresh organic basil leaves


Preparation

  1. Cook your pasta to al dente texture.
  2. Preheat your oven to 375 degrees.
  3. Drain your pasta and rub organic butter liberally in a 9” X 13” Pyrex® baking dish and add the pasta.
  4. In a saucepan, combine the mozzarella, 2 cups of Parmigiano-Reggiano, and Half-and-Half.
  5. Simmer, stirring often, until it’s a nice gooey mess!
  6. Add the salt and pepper to taste. Salt with caution if you have high blood pressure.
  7. Turn off the heat; stir in the tomatoes and basil.
  8. Pour the mixture all over the pasta and mix it in.
  9. Top with the hand-full of Parmigiano-Reggiano.
  10. Bake for 18 minutes, spoon it out, and enjoy!.


One of the things I like about this recipe is the fact that there a multitude of different ways to modify your ingredients, depending on the whims of you and your family. For example, how about changing up your cheese? Adding blue cheese will give the dish a funky edge that goes well with a red wine. The shape of the pasta? Adding in your favorite spices? It’s your call with this easy homemade mac and cheese recipe.

More Recipes and Cooking Articles to Try


Did you find this article helpful? Millions of readers rely on information on this blog and our main site to stay informed and find meaningful solutions. Please chip in as little as $3 to keep this site free for all.


Visit Kelly’s profile on Pinterest.

About the Author:

Photo of Kelly R. SmithKelly R. Smith is an Air Force veteran and was a commercial carpenter for 20 years before returning to night school at the University of Houston where he earned a Bachelor’s Degree in Computer Science. After working at NASA for a few years, he went on to develop software for the transportation, financial, and energy-trading industries. He has been writing, in one capacity or another, since he could hold a pencil. As a freelance writer now, he specializes in producing articles and blog content for a variety of clients. His personal blog is at I Can Fix Up My Home Blog where he muses on many different topics.

close

Enjoy this blog? Please spread the word :)

RSS
Follow by Email
Twitter
Follow Me
Tweet
Pinterest
Pinterest
Pinterest
Instagram
LinkedIn
Share