If You Love That Tangy Sourdough Taste And Love To Bake, Here is How to Get Started
|
Ads we feature have been independently selected and reviewed. If you make a purchase using the links included, we may earn a commission, which helps support the site. Thank you for your support.
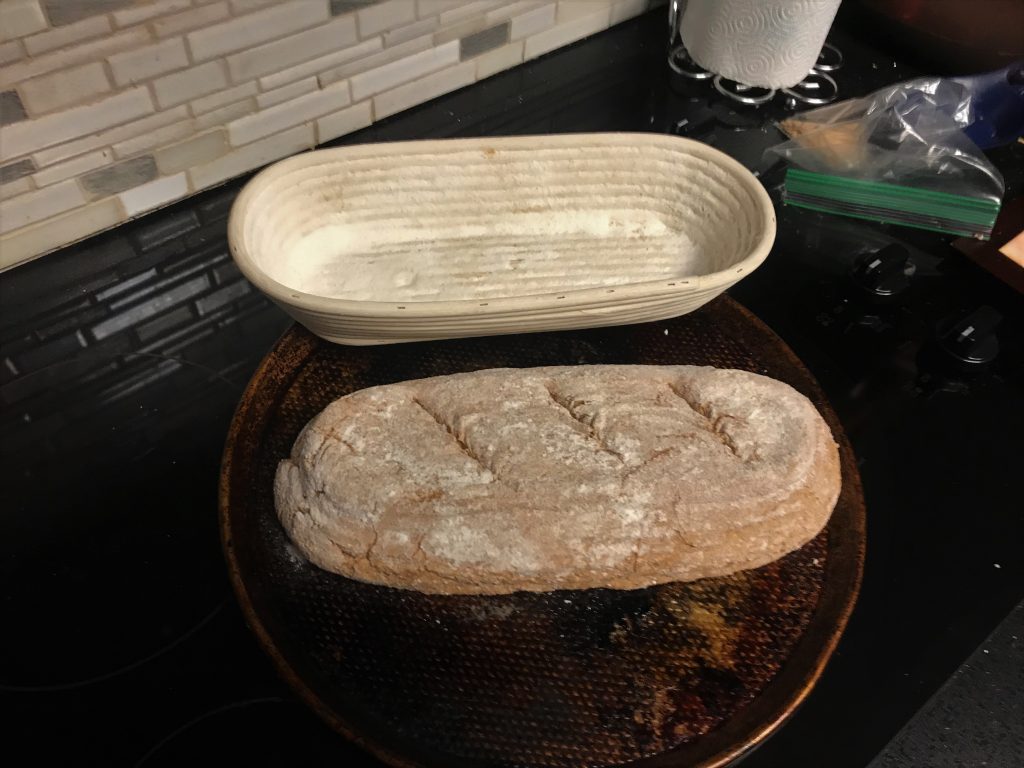
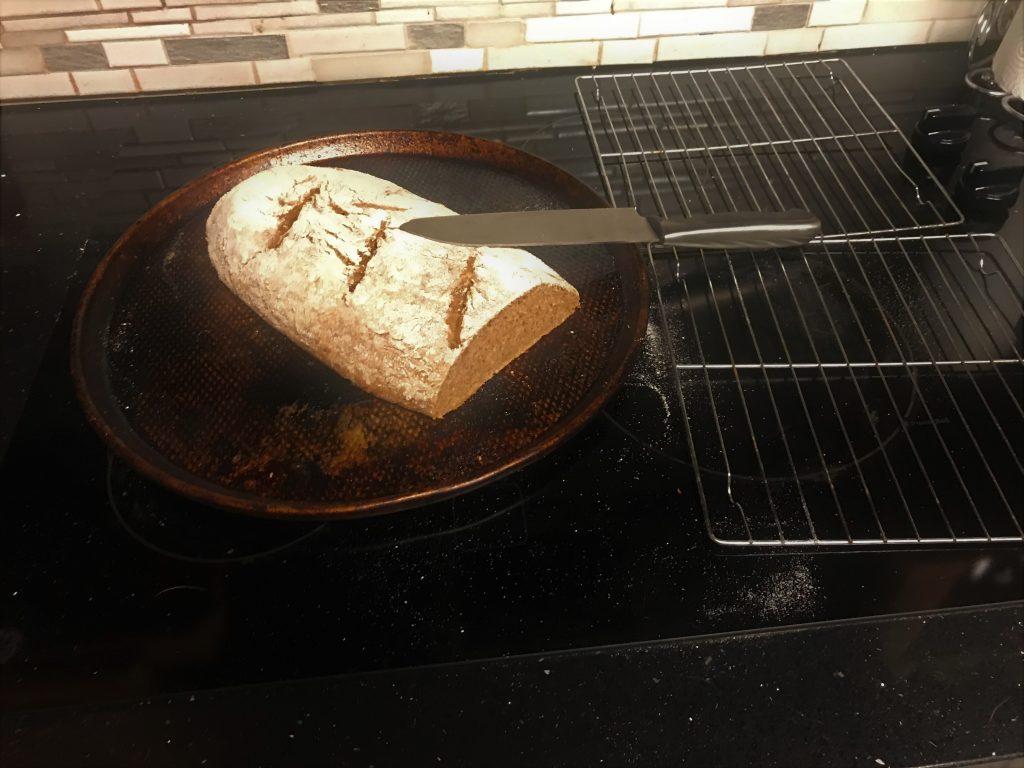
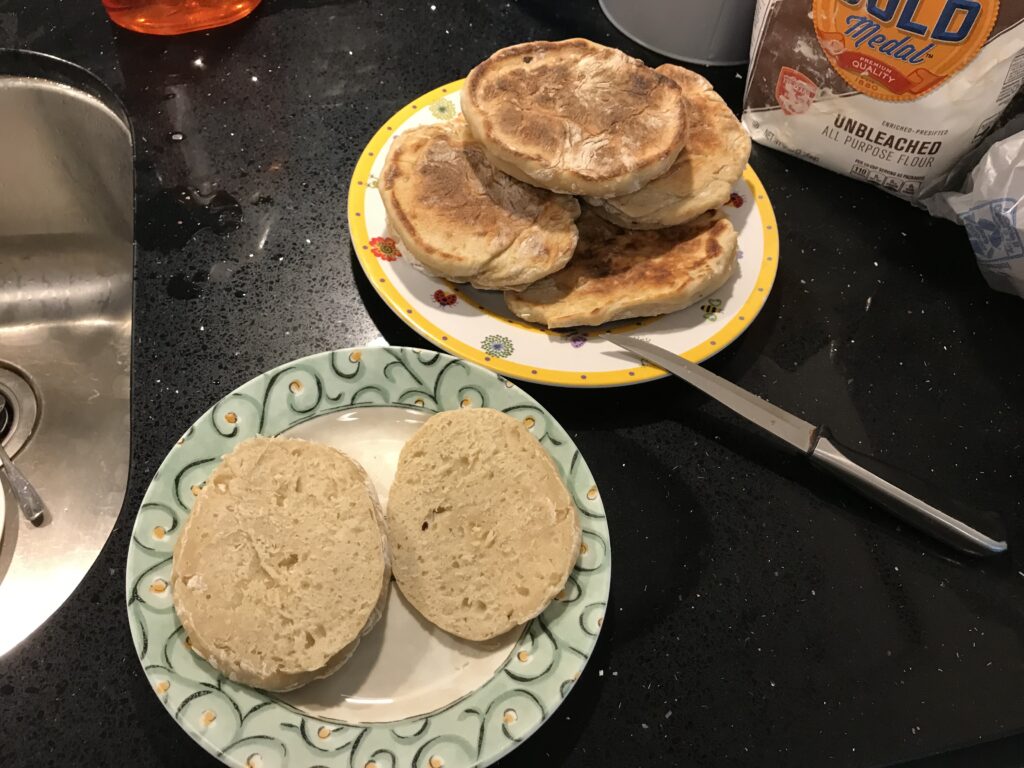
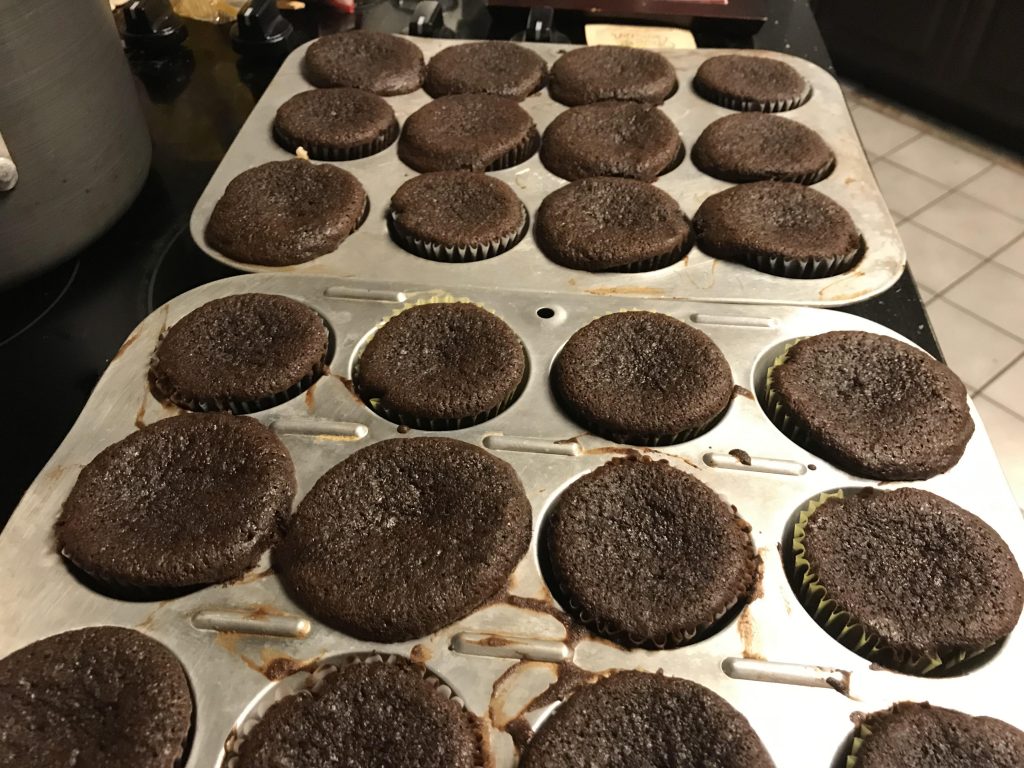
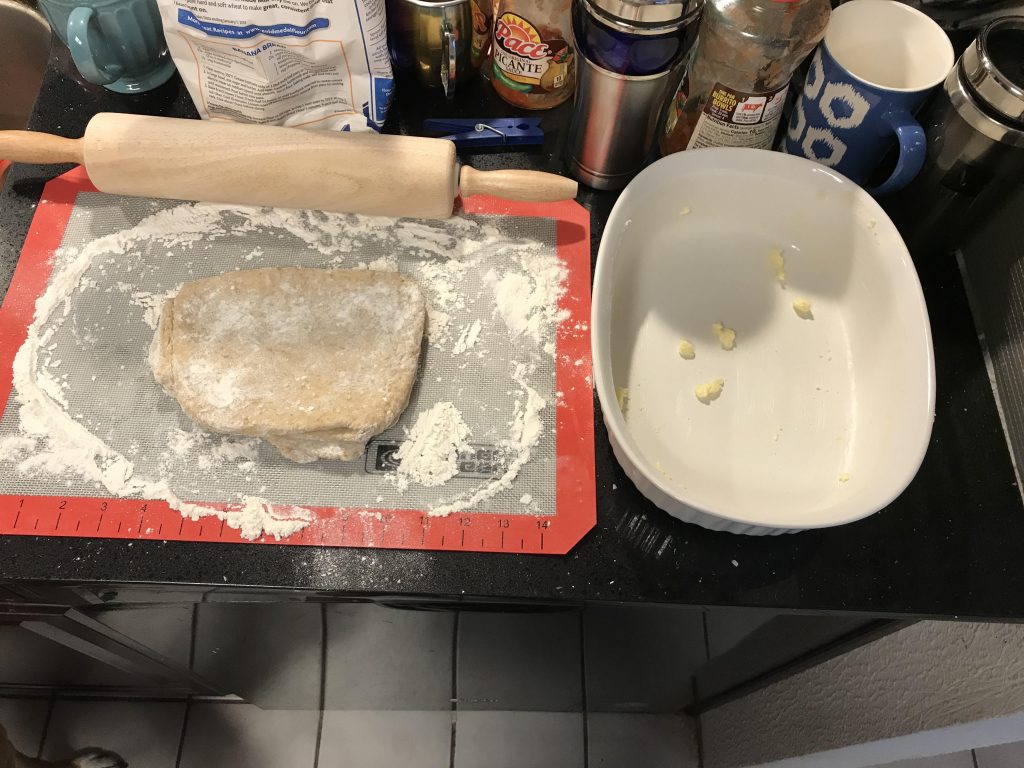
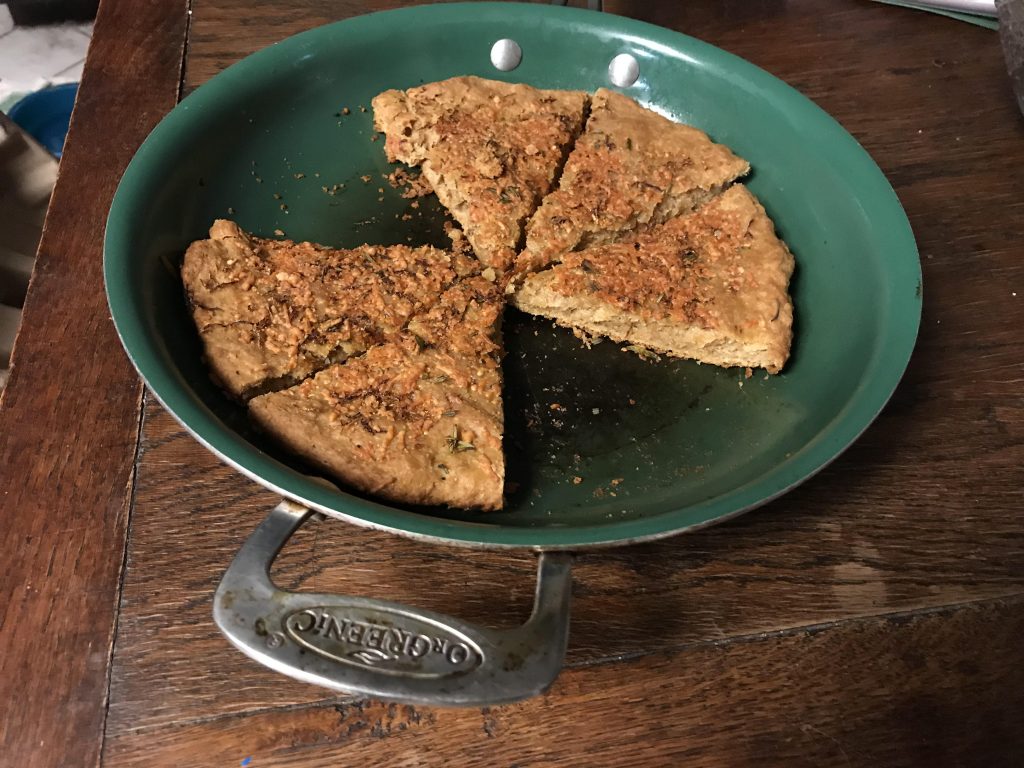
Who doesn’t like the tangy taste of freshly baked sourdough bread? How about pancakes, cupcakes, bran muffins, focaccia, and buttermilk biscuits? The actual baking part doesn’t differ much from the traditional yeast-in-a-package process, but now you’ll need a sourdough starter to replace the yeast.
What is a Starter?
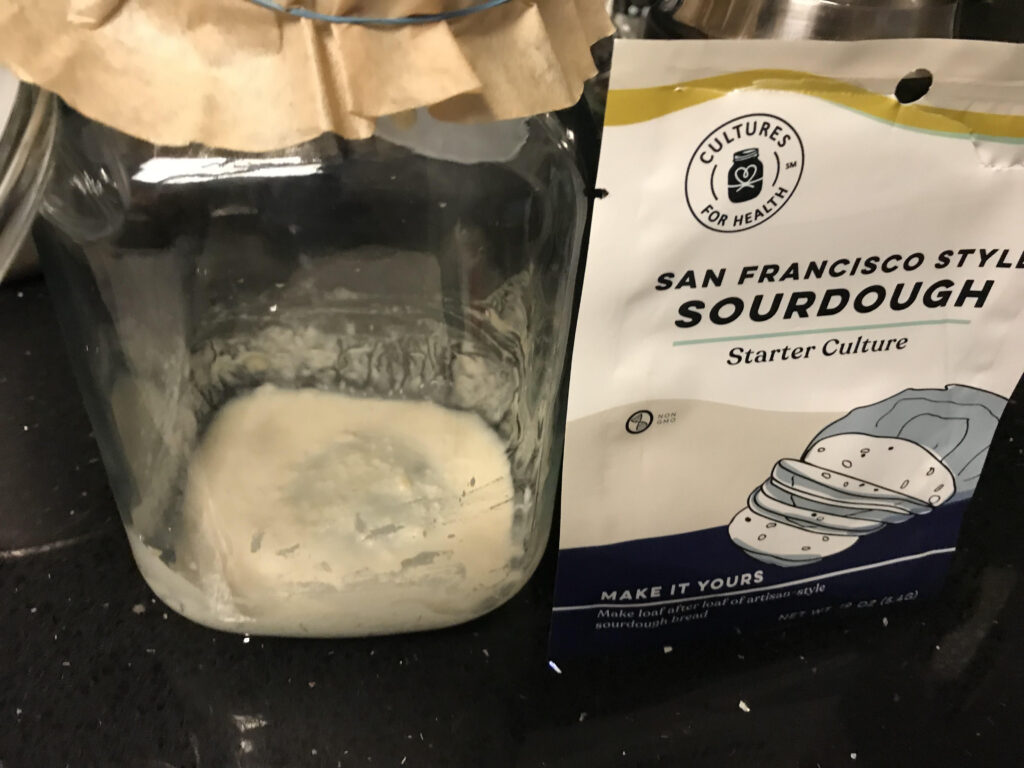
Although the concept may seem a bit esoteric, a starter is a mix of flour and filtered water that provides an environment for a stable blend of beneficial bacteria and wild yeasts. The baker must continually maintain the mixture is with regular refreshments (or feedings) of water and flour. There are basically three ways to get it going.
- Hit up a friend for a cup. This is the easiest way, if you know someone who is an avid sourdough baker.
- Buy an affordable packet of wild yeasts all over the place.
You will need:
- A glass jar; don’t use metal. Silicone spatula“>silicone spatula. This is used for stirring and scraping the inside of your jar.
Whichever way you go, use filtered water. Tap water contains chlorine or chloramine, which are disinfectants used to clean tap water. This can impede fermentation. If you go with the first method, you will just need to feed it every day with equal measures of organic white flour and water until you have more than enough for your recipe.
If you go the packaged route, the instructions will be on the package. This usually entails feeding it more every day for a week or so.
Starting from scratch is a bit different. Here’s a basic recipe.
- Day 1: The starter adventure begins. Combine 4 ounces all-purpose flour (3/4 cup plus 2 tablespoons) and 4 ounces water (1/2 cup) in your jar. Stir well until it is combined into a smooth batter. Scrape down the sides with your spatula and loosely cover the jar. Place your jar somewhere with a consistent room temperature of 70°F to 75°F. Let it sit for 24 hours.
- Day 2: Feed your starter. For this, use 4 ounces all-purpose flour (3/4 cup + 2 tablespoons) and 4 ounces water (1/2 cup). You might see small bubbles here and there. Bubbles mean that the wild yeast have began being comfortable and active in your starter. They eat the sugars in the flour and continue to release carbon dioxide and alcohol. Additionally, they will increase the acidity of your starter, which assists in fending off any unwanted bacterias. At this point, your starter should begin to smell fresh, mildly sweet, and yeasty.
- Day three: Feed your starter again. This time, use the same quantities as day 2. By now, the surface of your starter might be speckled with bubbles and be larger in volume. If you stir the starter, it will still feel thick and batter-like, but you’ll hear bubbles popping. It should also start smelling a little sour and musty.
- Day 4: Feed your starter again. Use the same amounts of water and flour. The starter will feel looser than day 3 and have embeded bubbles.
- Day 5: Your starter should be ready to begin using. It should be doubled in bulk since day 4. It should also be very bubbly. If not, it can still be used but it won’t have the same leavening power. Feed it again.
- Day 6 and going forward: Maintain the starter. Discard (or use) about about 1/3 of the starter and then feed it with new flour and water; you know the drill by now. If you’re using the starter every few days, leave it out on the counter and continue discarding half and feeding it daily. But, say, you are only using it on the weekend, cover it tightly and place it in the refrigerator. You must still take it out and feed it once a week; let it sit out overnight to give the yeast time to gather strength before returning it to the fridge.
There will be times when you go out of town on business or on vacation and you won’t be able to tend to it properly. When this happens, you can feed the starter double the amount of flour to make it thicker and dough-like before you store it in the refrigerator.
Now you know how to make a sourdough starter. It’s not rocket science but it may seem like a lot of work. But, like shaving or brushing your teeth, the process soon becomes just another small effort in life, albeit one with palatable rewards.

Check Out More Trending Content
- Ghirardelli Chocolate Cupcakes Recipe
- Sourdough Focaccia Recipe
- Prebiotics, Probiotics, and Synbiotics; What Does It All Mean?
- Types of Home Water Filtration Units
- How to Troubleshoot and Repair a Refrigerator
- How to Get a Perfect Shave Every Time
- Baked Eggplant Fries Recipe
- Crustless Tomato Pie Recipe
- What Happens When You Quit Alcohol
Looking for more great content? Visit our main page or partner sites:
I offer article and blog-writing services. Interested? Contact me for a quote!
Did you find this article helpful? Millions of readers rely on information on this blog and our main site to stay informed and find meaningful solutions. Please chip in as little as $3 to keep this site free for all.








 Kelly R. Smith is an Air Force veteran and was a commercial carpenter for 20 years before returning to night school at the University of Houston where he earned a Bachelor’s Degree in Computer Science. After working at NASA for a few years, he went on to develop software for the transportation, financial, and energy-trading industries. He has been writing, in one capacity or another, since he could hold a pencil. As a freelance writer now, he specializes in producing articles and blog content for a variety of clients. His personal blog is at