Take Advantage of That Breakfast Nook or Kitchen Window

|
Ads we feature have been independently selected and reviewed. If you make a purchase using the links included, we may earn commission, which helps support the site.
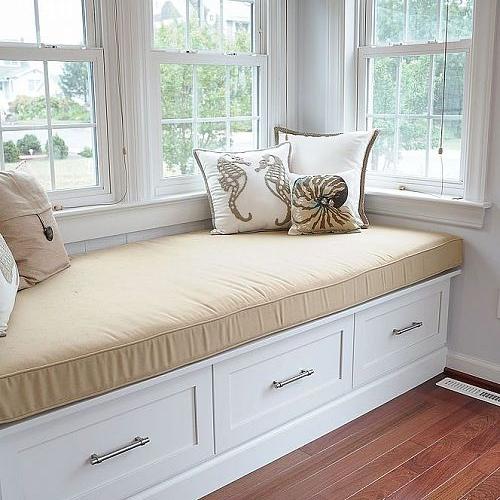
A bay window seat, with or without cushions, can function as storage space, bookshelves, and a place to relax while enjoying a view of nature and landscaping.
One thing that most homes have in common is a lack of storage units. And oftentimes, the space in front of windows is under-utilized. Why not kill two birds with one stone and install an attractive bay window seat that doubles as storage space?
Designing the Window Seat
It’s a given that the dimensions of the window are not going to change, so that’s a good starting point. The seat shouldn’t be any higher than the bottom of the window; that would be impracticable. The one variable is the bottom strip of window trim or casing. The seat can come up to the bottom of the trim or the trim can be removed to gain a couple more inches in height. Whichever route you take, be sure to winterize this area while you are working there.
On the other hand, if the window bottom is over 18 inches or so off the floor, the window will have no impact on the seat. 18 inches is an acceptable height for a seat, although going a few inches either way to allow for individual tastes is certainly an option. We are not one-size-fits-all, so to speak.
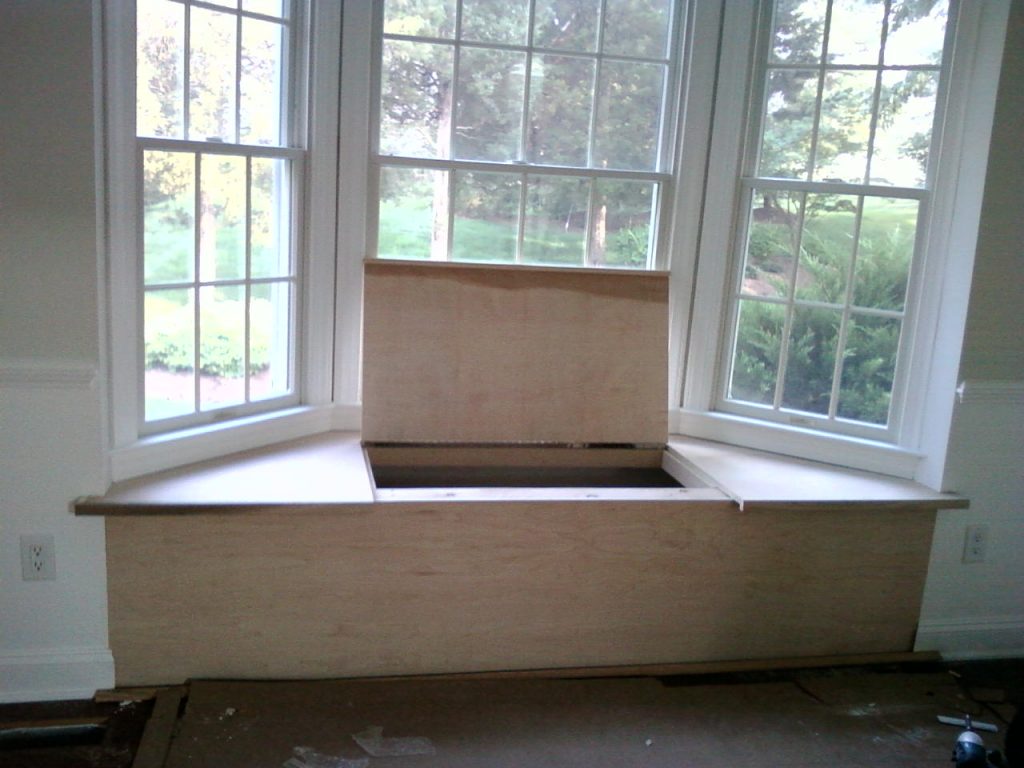
The basic design in most cases is simply a rectangular box, although V-shapes happen as well, with or without doors similar to the ones found on kitchen cabinets. For storage purposes, the two common styles are front access (kitchen cabinet style), and hinged top.

To take the green and sustainable building approach, just use salvaged cabinets if some are available that fit the space. This is a great time to learn about restoring vintage kitchen cabinets.
Hinged Seat Storage or Front Access
A hinged seat can work well for storing items that aren’t used on a regular basis. The issue is that by design, things are stacked on top of others. Think a hope chest or an old-style trunk. Another consideration is that extra material and woodworking hardware will be required. This includes hinges at a minimum.
Front access can be either an open design or closed with cabinet doors. An open design is the best way to go if the space is going to be used as a book case or for a knickknack display area as an alternative to alcove shelving.
Most loved on @amazonhome
If cabinet doors are installed and the window is in the kitchen, why not use the space for storing dishes, cookware, and small kitchen appliances?
Basic Window Seat Construction
As mentioned above, the structure is basically a box, or some sort of V-shape if that is what you are working with. The most basic way to build it is to construct a basic frame and sheath it with plywood that has a finished side. If the seat is to be attached to the wall, the top rear support is a ledger board screwed to the wood framing studs.
The baseboard should be cut away or removed and a framing member matching the ledger board should be attached to the wall at the floor. The remainder of the unit is to be build off these two framing members. Adequate bracing should be added to the seat area appropriate for the size of the seat. When deciding on the depth, allow a bit extra if the seat will be used for napping. See this article for more information on residential wood stud framing. Finally, add cushions or pillows and relax.
I hope this article on building a bay window seat with storage in your kitchen, breakfast nook, or another room has given you some good ideas for your own project. For more information please check out the articles listed below and check the search box at the top of this page.
More Articles to Enjoy
- Build a Walk-In Pantry for More Storage Space
- 4 Ways to Affordably Landscape Your Yard
- Preventative Home Maintenance to Keep the Cold Out
- Kitchen and Bathroom Cabinet Maintenance Tips
- How to Restore Vintage Kitchen Cabinets
- How to Install Closet or Alcove Shelves
- Residential Wood Frame Construction Explained

Did you find this article helpful? Millions of readers rely on information on this blog and our main site to stay informed and find meaningful solutions. Please chip in as little as $3 to keep this site free for all.


 Kelly R. Smith is an Air Force veteran and was a commercial carpenter for 20 years before returning to night school at the University of Houston where he earned a Bachelor’s Degree in Computer Science. After working at NASA for a few years, he went on to develop software for the transportation, financial, and energy-trading industries. He has been writing, in one capacity or another, since he could hold a pencil. As a freelance writer now, he specializes in producing articles and blog content for a variety of clients. His personal blog is at