by Kelly Smith
This article was updated on 08/09/20.

|
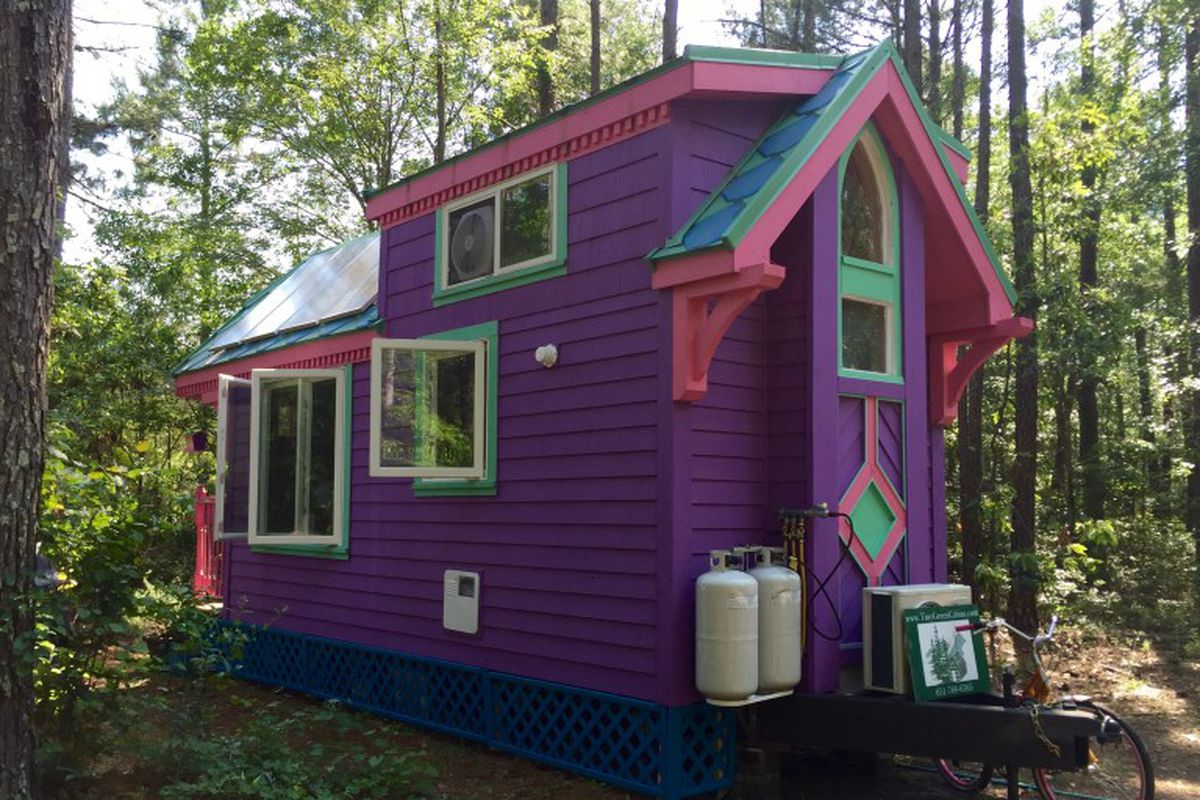
Anyone watching TV these days might think tiny houses are a recent innovation, a minimalist invention of the ultra-hip, resource-conserving, save-the-planet, green-living crowd. And while these diminutive abodes do indeed meet many of these goal, history shows that they have been around for some time.
As a matter of fact, these houses were popular at the turn of the 20th century during an American growth phase and in the 21st century when property values were increasing. Today they must meet building code requirements. They are recognized in the 2018 edition of the International Residential Code (IRC) in Appendix Q where, because of their size they get several special dispensations. This is how tiny houses meet building codes. This article addresses the dimensional aspect of construction, but if you are building know that the electrical code remains the same as for larger structures.
Loft Requirements
A notable IRC guideline is that we shouldn’t be trying to occupy too small an area. This is defined as saying that a habitable room cannot be less than 70 square feet or less than 7 feet in any cross-sectional dimension. Although the main floor in a tiny home must follow these requirements, the loft above that generally acts as the bedroom is treated somewhat differently.
Bedroom lofts are allowed to be as small as 35 square feet as long as it has a minimum 5-foot cross-sectional area. To give you a rough idea, this just as bit larger than a queen-size bed. Additionally, the ceiling in these rooms shall be lower than 6 feet, 8 inches, Contrast this height with the standard height in full-sized homes of 8 feet.
Committing the ceiling to be this low in a loft instills the expectation to the owner before they even attempt to climb up. Safety is often linked to expectation in building codes, so when you lessen the safety factor, you need to lessen the expectation of said safety.
Specified is an absolute 36 inch minimum ceiling height for lofts but it only applies to the space which contains the minimum 35 square feet. Even so, there is an exception to the exception and here it is. Loft spaces under a roof/ceiling slope of 6-inch-12 or steeper, this area is permitted to have ceilings at the sloped areas as low as 16 inches above the finished floor.
Requirements for Access to the
Loft
Since stairs eat up a lot of real estate, especially in a tiny home, they must be designed with this in mind. Usually owners don’t employ standard furniture in their loft so the minimum stairway width allowed is lowered from 36 inches to 17 inches above the handrail and 20 inches below it.
The lowest allowed stairway height of 6 feet 8 inches is permitted to be reduced to 6 feet 2 inches. Because many lofts have to be accessed by crawling, stairs ascending to a loft with a ceiling height less than 6 feet 2 inches may terminate at a landing platform. This is a new tiny home term coined by the IRC. Requirements for a normal landing has to be at least 36 inches deep but a landing platform must be between 18 inches and 22 inches deep.
Guardrail Requirements
The purpose of the minimum guardrail height is to protect a standing person from taking a fall, as you might expect. But since the reduction allowed in tiny house loft-ceiling height, a standard-height guardrail is just overwhelming. With this in mind, guardrails in a tiny home are allowed to be at least one-half of the ceiling height at its highest point.
Requirements for Emergency Escape and Rescue Openings
Thee is no window requirement for secondary emergency egress from a bedroom or loft space, but a so-called opening is. Because there exists a particular egress-window expectation of society, the authors of the tiny home appendix to the IRC felt it sufficient that a roof hatch or skylight would also be sufficient to meet that expectation.
If there is a minimalist residence in your future, now you know how tiny houses meet building codes.

Looking for more great content? Visit our partner sites:
I offer article and blog-writing services. Interested? Hire Me!
Did you find this article helpful? Thanks for supporting this free site with a small donation!
Visit Kelly’s profile on Pinterest.


 Kelly R. Smith is an Air Force veteran and was a commercial carpenter for 20 years before returning to night school at the University of Houston where he earned a Bachelor’s Degree in Computer Science. After working at NASA for a few years, he went on to develop software for the transportation, financial, and energy-trading industries. He has been writing, in one capacity or another, since he could hold a pencil. As a freelance writer now, he specializes in producing articles and blog content for a variety of clients. His personal blog is at