Easy Homemade Mac and Cheese Recipe

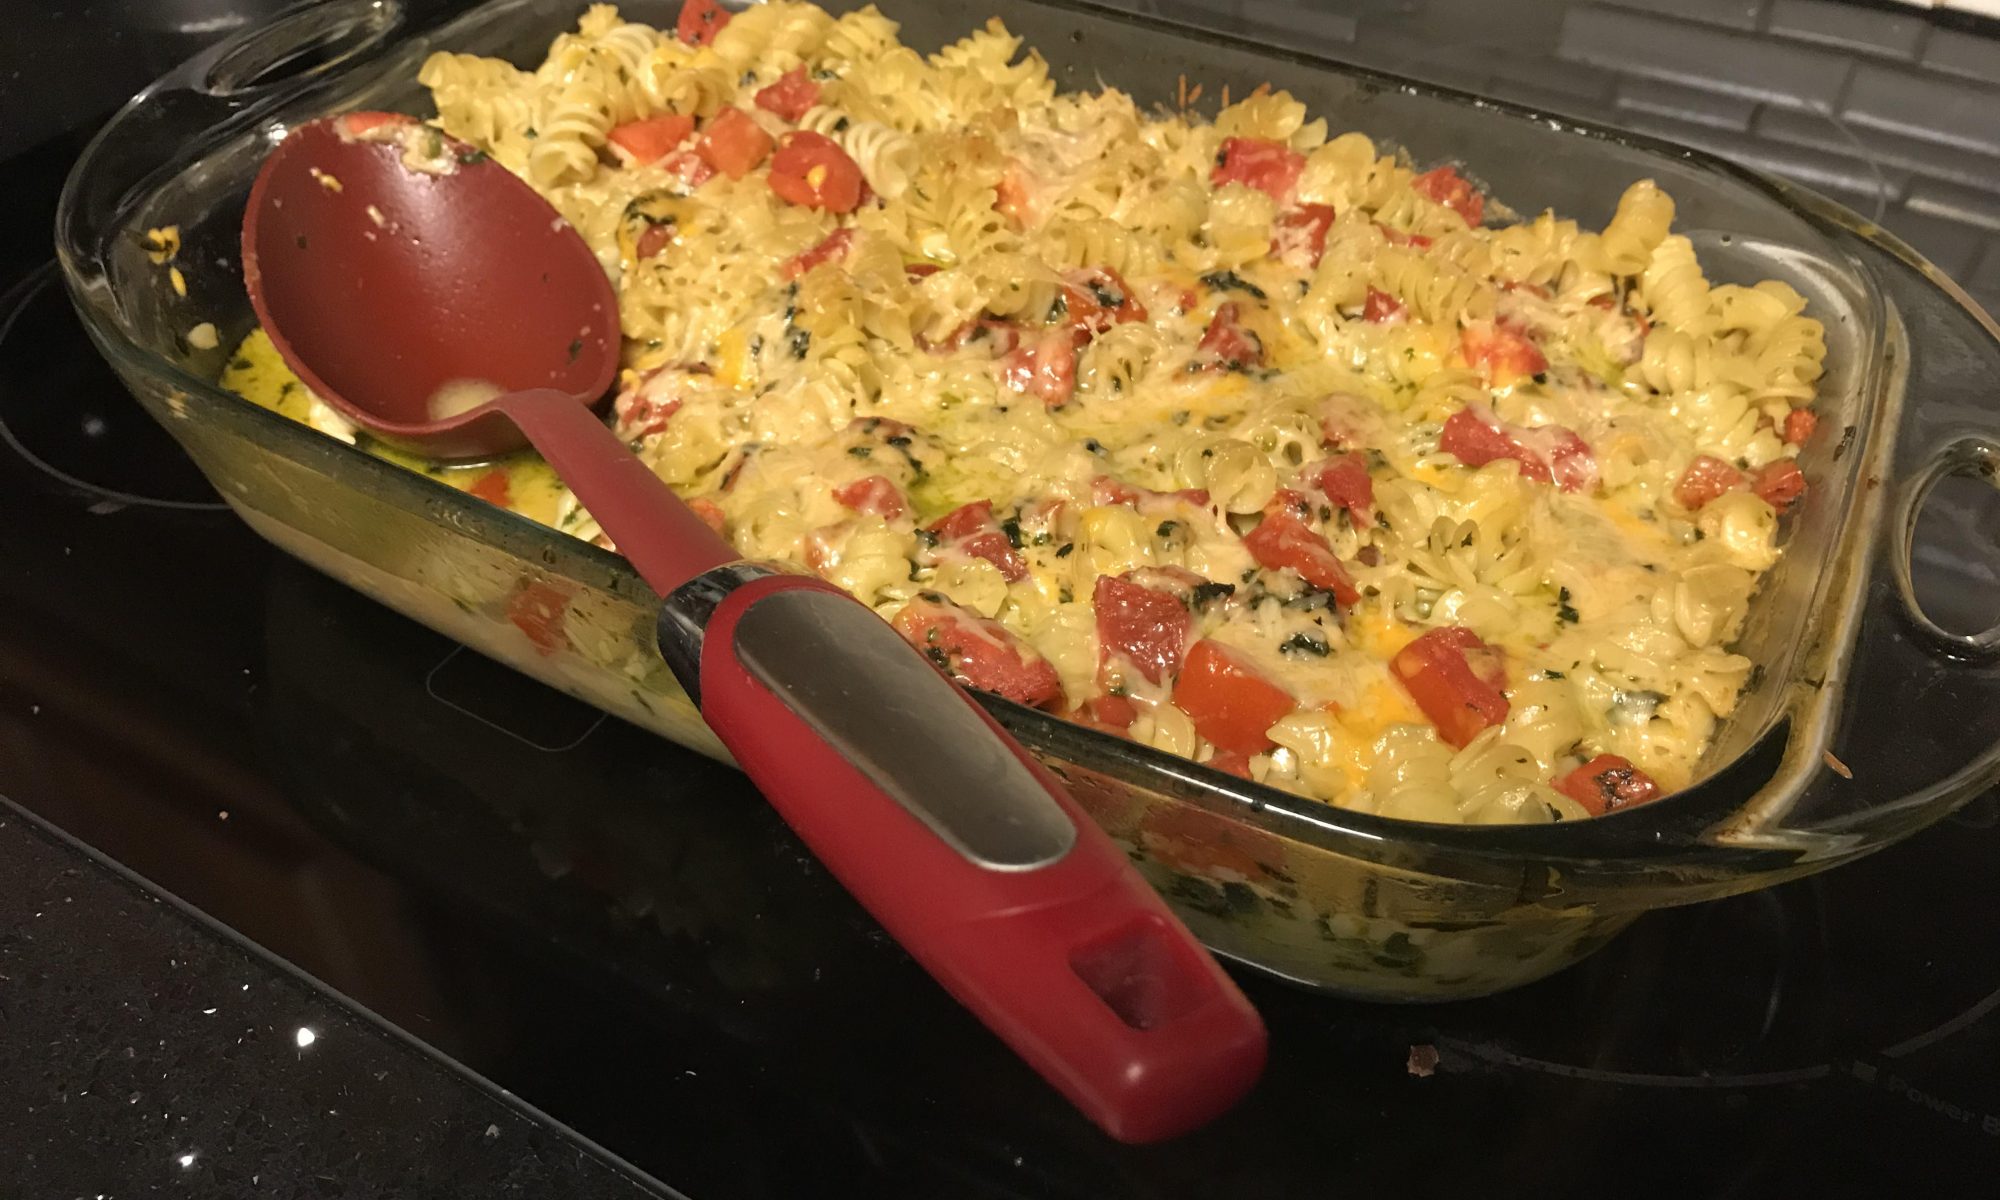
Homemade Mac and Cheese

Traditional Comfort Food Your Kids Will Eat And Beg For More
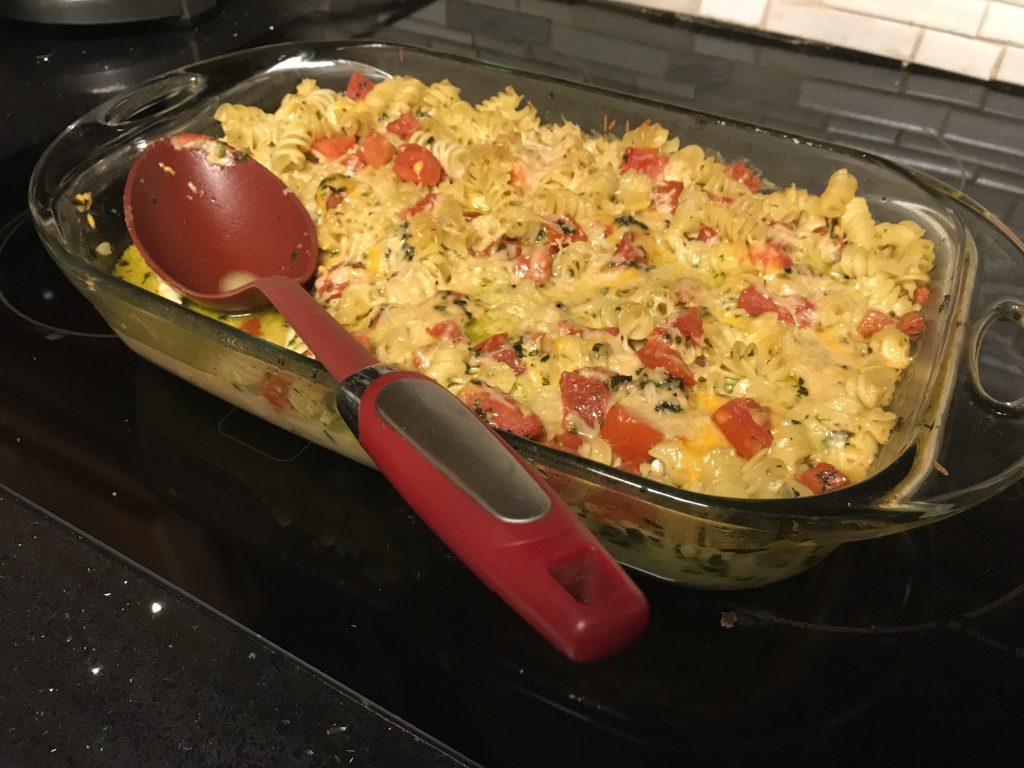
Photo of Kelly R. Smith   by Kelly R. Smith; © 2022

Homemade mac and cheese comfort food
index sitemap advanced

Ads we feature have been independently selected and reviewed. If you make a purchase using the links included, we may earn commission, which helps support the site.

This article was updated on 04/03/22.

This Homemade mac and cheese is one of the favorite comfort foods in our humble abode, right up there with my ranch dressing cheeseburger. Even picky kids love it so you can slip in some vegetables if you like (hint, hint). It takes a little longer to make than that boxed stuff, but you have to ask, what is that yellow powder anyway? Soylent yellow? As with all recipes, I use as much organic ingredients as possible, and out of my own garden when possible.

Mac and Cheese Ingredients

  • 1 lb. rigatoni or the pasta shape of your choice. I like the whole wheat variety but hey, you’ve got to get the kids to eat it, right?
  • Organic butter for your baking dish
  • 2 cups Half-and-Half
  • 1/2 lb. mozzarella cheese cut into 1/2” squares or shredded
  • Kosher or pink Himalayan salt to taste
  • Freshly-ground pepper to taste
  • 2 cups of grated Parmigiano-Reggiano cheese if you can find it + a hand-full; I sometimes substitute shredded Swiss for the Reggiano
  • 7 Roma tomatoes, diced
  • 35 organic basil leaves, cut into strips, more or less according to your taste. This is just one more reason to keep an organic spice garden. If you don’t have, or can’t find, fresh basil, use basil paste.
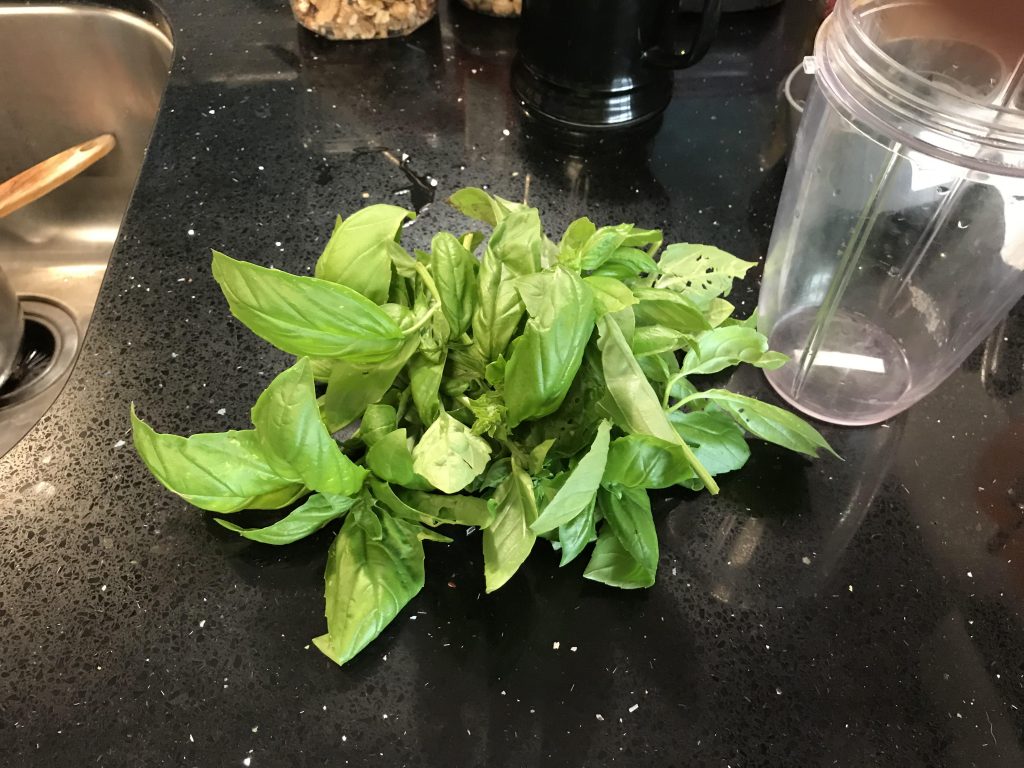
Fresh organic basil leaves


Preparation

  1. Cook your pasta to al dente texture.
  2. Preheat your oven to 375 degrees.
  3. Drain your pasta and rub organic butter liberally in a 9” X 13” Pyrex® baking dish and add the pasta.
  4. In a saucepan, combine the mozzarella, 2 cups of Parmigiano-Reggiano, and Half-and-Half.
  5. Simmer, stirring often, until it’s a nice gooey mess!
  6. Add the salt and pepper to taste. Salt with caution if you have high blood pressure.
  7. Turn off the heat; stir in the tomatoes and basil.
  8. Pour the mixture all over the pasta and mix it in.
  9. Top with the hand-full of Parmigiano-Reggiano.
  10. Bake for 18 minutes, spoon it out, and enjoy!.


One of the things I like about this recipe is the fact that there a multitude of different ways to modify your ingredients, depending on the whims of you and your family. For example, how about changing up your cheese? Adding blue cheese will give the dish a funky edge that goes well with a red wine. The shape of the pasta? Adding in your favorite spices? It’s your call with this easy homemade mac and cheese recipe.

More Recipes and Cooking Articles to Try


Did you find this article helpful? Millions of readers rely on information on this blog and our main site to stay informed and find meaningful solutions. Please chip in as little as $3 to keep this site free for all.


Visit Kelly’s profile on Pinterest.

About the Author:

Photo of Kelly R. SmithKelly R. Smith is an Air Force veteran and was a commercial carpenter for 20 years before returning to night school at the University of Houston where he earned a Bachelor’s Degree in Computer Science. After working at NASA for a few years, he went on to develop software for the transportation, financial, and energy-trading industries. He has been writing, in one capacity or another, since he could hold a pencil. As a freelance writer now, he specializes in producing articles and blog content for a variety of clients. His personal blog is at I Can Fix Up My Home Blog where he muses on many different topics.

Creamy Parmesan Basil Chicken Recipe

This Satisfying Dish is a Favorite Comfort Food. Easy to Make and Nutritious, Your Whole Family Will Love It!

Photo of Kelly R. Smith   by Kelly R. Smith

Creamy Parmesan Basil Chicken
Creamy Parmesan basil chicken being prepared
index sitemap advanced

Ads we feature have been independently selected and reviewed. If you make a purchase using the links included, we may earn commission, which helps support the site.

This article was updated on 03/26/21.

I made this tasty dish last weekend and it was a huge hit! All three of my basil plants are going gangbusters right now so if I’m not making pesto, spaghetti carbonara, or something else, I’m looking to be creative. I mention this because one of the keys to growing basil all season is to keep it trimmed back. If you let the flowers and seeds get out of hand you won’t be encouraging leaf growth.

This recipe is so easy and quick to make. I only spent about 45 minutes preparing it. It serves 4. Here’s how:

Creamy Parmesan Basil Chicken Ingredient List

  • 4 large chicken breasts (Whole, sliced in half, or cut into strips)
  • 1 box of pasta, your choice
  • 3 tablespoons butter (not margarine)
  • 4 large garlic cloves, minced
  • 1 1/2 cups heavy cream
  • 1/2 onion, finely minced (I prefer red onions but use what you like)
  • 3-4 ounces roasted red peppers, thinly sliced
  • black pepper to taste
  • salt to taste
  • 2 to 3 cups packed fresh basil leaves, cut up (quantity is a personal preference)
  • 1/4 teaspoon crushed red pepper flakes
  • 1 1/2 cups fresh grated Parmesan cheese
  • 1/2 cup white wine or chicken stock

Preparation

  • In a large non-stick pan on medium high heat, melt 2 tablespoons of the butter. Season chicken with salt and pepper, then sear, 4 to 5 minutes on each side, until just cooked. Remove the chicken from the pan and set aside.
  • Start the pasta cooking while continuing with the sauce; cook until al dente.
  • Add the remaining 1 tablespoon of butter to the pan. Toss in the onion, garlic, peppers, paprika, red chili pepper flakes, salt, and pepper. Saute for about five minutes, just until onions and peppers become soft.
  • Reduce heat to medium. Add wine or chicken stock to de-glaze the pan. Adjust heat as needed to bring to a gentle simmer until reduced by half.
  • Lower the heat to medium low. Add the cream to the pan. Stir it until a creamy sauce forms. Add in the Parmesan cheese and stir until it is melted into sauce. Stir in the basil and simmer until just wilted, 1-2 minutes.
  • Add the chicken back to the pan and allow to warm up. It’s done! Serve over the pasta.

You Might also Enjoy…

Looking for more great content? Visit our main site I Can Fix Up My Home and our partner sites:

The Green Frugal

Running Across Texas


As Featured On Ezine Articles

I offer article and blog-writing services. Interested? Hire Me!


Did you find this article helpful? Millions of readers rely on information on this blog and our main site to stay informed and find meaningful solutions. Please chip in as little as $3 to keep this site free for all.


Visit Kelly’s profile on Pinterest.

About the Author:

Photo of Kelly R. SmithKelly R. Smith is an Air Force veteran and was a commercial carpenter for 20 years before returning to night school at the University of Houston where he earned a Bachelor’s Degree in Computer Science. After working at NASA for a few years, he went on to develop software for the transportation, financial, and energy-trading industries. He has been writing, in one capacity or another, since he could hold a pencil. As a freelance writer now, he specializes in producing articles and blog content for a variety of clients. His personal blog is at I Can Fix Up My Home Blog where he muses on many different topics.
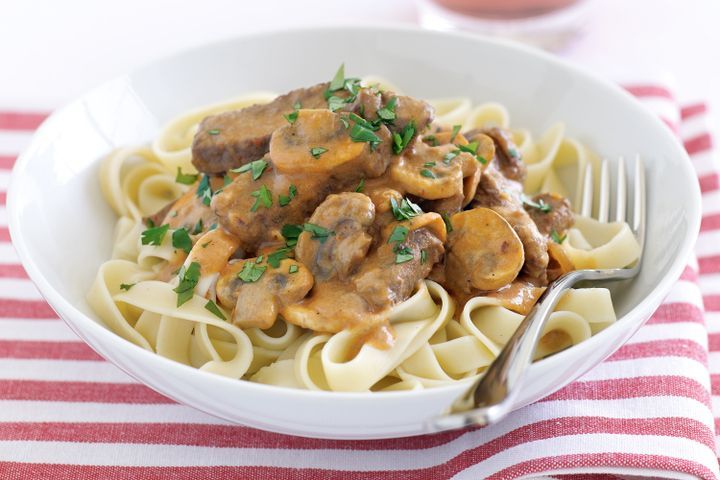
Classic Beef Stroganoff Recipe

Classic Beef Stroganoff
index sitemap advanced

What’s not to like about Beef Stroganoff ? It’s a timeless dish that won’t break the budget and is easy to prepare. When I got a hankerin’ for it yesterday I did an internet search and was surprised by all the variations.

If you are on a low-carb diet but are hankerin’ for something pasta-y and this dish sounds a bit too much, I suggest trying my low-carb spaghetti carbonara recipe.

In case you are curious — the Stroganoff (or Stroganov) family in 18th century Russia is mainly associated with the popular beef dish which bears its name. The dish likely goes back to a much earlier peasant favorite, but is now usually attributed to the household of Count Pavel Stroganoff (1774-1817).

Beef Stoganoff Ingredients

  • 1 1/2 pounds of beef sirloin steak, 1/2 inch thick
  • 1 garlic clove, finely chopped
  • 8 ounces fresh mushrooms, sliced (2 1/2 cups)
  • 2 medium onions, thinly sliced
  • 1 1/2 cups Progresso™ beef flavored broth (from 32-ounce carton)
  • 1/4 cup butter (I prefer Kerrygold unsalted Irish butter but suit yourself)
  • 1 teaspoon Worcestershire sauce
  • 1/2 teaspoon salt
  • 1 1/2 cups sour cream
  • 1/4 cup all-purpose flour
  • 3 cups hot cooked egg noodles

Preparation Steps

  1. Cut the beef across the grain into roughly 1 1/2×1/2-inch strips.
  2. Cook the mushrooms, onions, and garlic in butter using a 10-inch skillet over medium heat. Stir occasionally until the onions are tender. Then, remove from skillet.
  3. Cook the beef strips in the same skillet until they’re brown. Next, stir in 1 cup of the broth, the salt, and the Worcestershire sauce. Heat to boiling; reduce heat. Cover the skillet and simmer 15 minutes.
  4. Stir the remaining 1/2 cup of broth into the flour and stir into the beef mixture. Stir in the onion mixture and heat to just boiling, stirring constantly to maintain consistency. Boil and stir for 1 1/2 minutes and reduce heat. Finally, now stir in the sour cream. Heat until hot but do not boil it. Serve over noodles and enjoy.

So that’s all there is to making classic beef Stroganoff. Like most of the recipes that I enjoy, it is very adaptable; throw in any extra ingredients or condiments that you like (I’m fond of homemade habanero hot sauce). If you like this recipe, please share the link with your friends. Enjoy!

Nutritional Information

Calories: 435Calories from fat: 295
Total Fat 23 g
Saturated Fat10 g
Cholesterol 115 mg
Sodium 620 mg
Potassium 560 mg
Total Carbohydrate 31 g
Dietary Fiber2 g
Protein 28 g
Click to learn more about revolutionary ThinMist!

Looking for more great content? Visit our partner sites:

The Green Frugal

Running Across Texas


As Featured On Ezine Articles

I offer article and blog-writing services. Interested? Hire Me!


Did you find this article helpful? Thanks for supporting this free site with a small donation!


Visit Kelly’s profile on Pinterest.


About the Author:

Photo of Kelly R. SmithKelly R. Smith is an Air Force veteran and was a commercial carpenter for 20 years before returning to night school at the University of Houston where he earned a Bachelor’s Degree in Computer Science. After working at NASA for a few years, he went on to develop software for the transportation and financial and energy trading industries. He has been writing, in one capacity or another, since he could hold a pencil. As a freelance writer now, he specializes in producing articles and blog content for a variety of clients. His personal blog is at I Can Fix Up My Home Blog where he muses on many different topics.
How to Make Sauce Cling to Your Pasta

This Cooking Tip Will Give You Enjoyable Restaurant-Style Results

Photo of Kelly R. Smith   by Kelly R. Smith

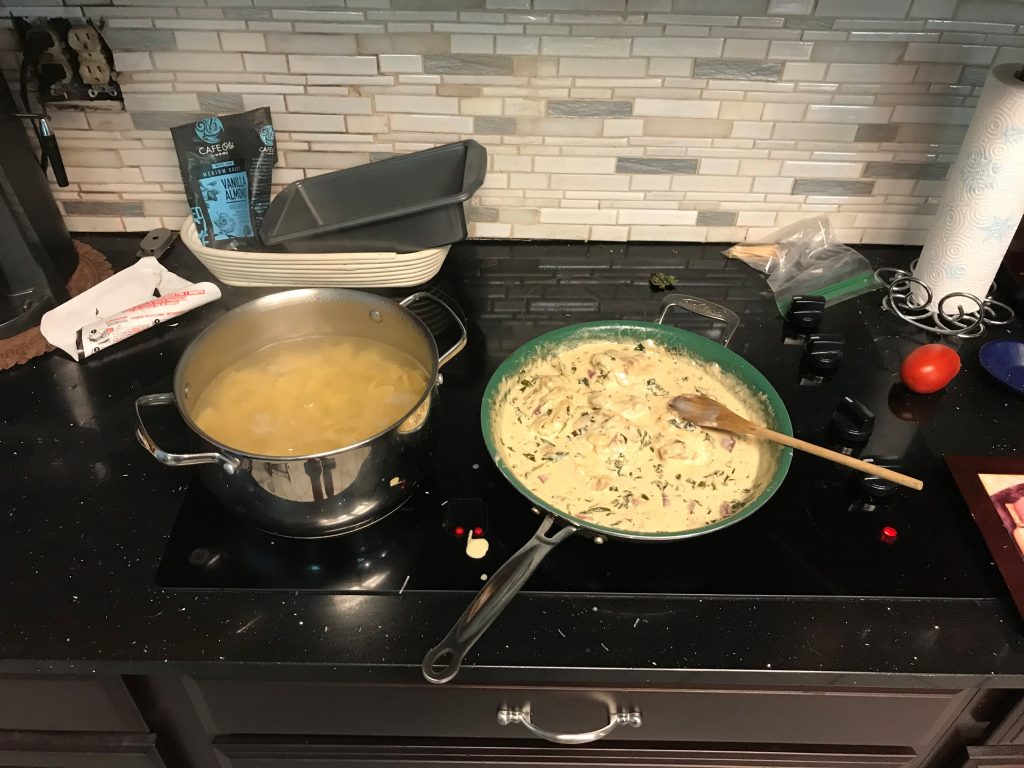
Cooking pasta with the  emulsion method.
Cooking pasta with the emulsion method
index sitemap advanced

This article was updated on 04/29/21.

Ads we feature have been independently selected and reviewed. If you make a purchase using the links included, we may earn a commission, which helps support the site. Thank you for your support.

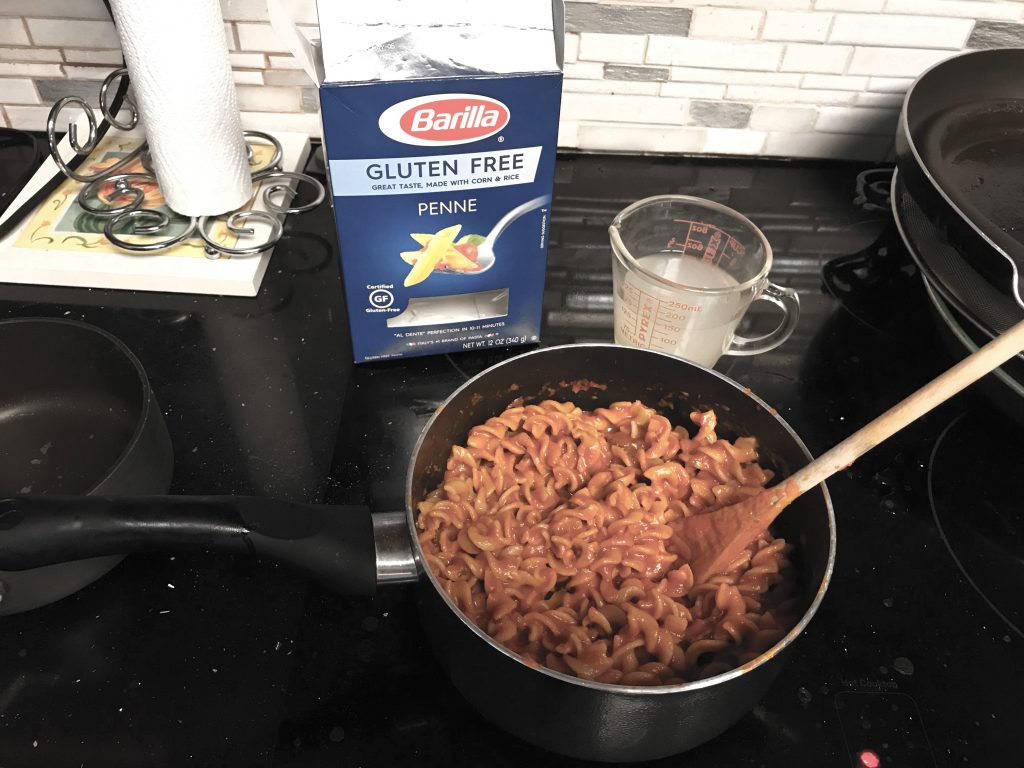
Who doesn’t like pasta? Spaghetti Carbonara, ravioli, elbow, penne, and so much more. It’s comfort food, just like tater tots and cheeseburgers. But have you ever wondered why the sauce clings so well to restaurant pasta but when you make it at home it slides right off and puddles on you plate? The secret is the concept of emulsion. The good news is that you can easily make it happen in your own kitchen!

What is this emulsion anyway? In a nutshell, it’s when two or more liquids that normally won’t mix are forced to come together. For example, mayonnaise is an oil in water emulsion that is stabilized by the lecithin in egg yolk. That’s why you don’t have to stir it up. Peanut butter is another good example (except for the kind that you do need to stir). Now let’s learn how to apply emulsion to home-cooked pasta.

Easy Steps to Making Sauce-Clinging Pasta

  • Bring heavily salted water to a boil in an appropriately-sized pot. I like using “pink” or Himalayan salt. Regular table salt has all the minerals stripped out of it.
  • Add the pasta.
  • Do not cook it to the al dente stage; leave it a bit undercooked because it will finish in the sauce.
  • When you go to drain the pasta, reserve a cup of the water. Set the pasta aside.
  • Add your sauce to the now-empty pot. For every 3 ounces of dry pasta that you cooked, use 1/2 cup of sauce.
  • Heat the sauce to a simmer.
  • Add in any extra vegetables that you enjoy.
  • Toss in 1/2 tablespoon of butter (I like Kerrygold Irish butter but it’s your call). Stir in until it melts. Repeat until you can run a spoon through it and see all the way to the bottom of the pot without the sauce quickly seeping back to fill the gap.
  • Add the drained pasta directly to the pot. Mix vigorously. This will further emulsify and thicken your sauce by grabbing bits of starch from the pasta; mixing your pasta and sauce directly in your pot instead of pouring sauce over the pasta is the key finishing step to achieve that restaurant quality. Different kinds of pasta interact with different sauces differently. Some soak up more liquid than others. If your sauce is too thick, this is where you can mix some of your reserved pasta water back in, just a wee bit at a time.
  • Serve and enjoy!

I like to serve it with a side of Tuscan kale salad. Go ahead and experiment with making sauce cling to your pasta. Different kinds of pasta, different kinds of sauce; it’s an adventure. Of course, it also works in low-carb noodles recipes.

Trending Recipes


Looking for more great content? Visit our main page or partner sites:

I Can Fix Up My Home

The Green Frugal

Running Across Texas


As Featured On Ezine Articles

I offer article and blog-writing services. Interested? Contact me for a quote!


Did you find this article helpful? Millions of readers rely on information on this blog and our main site to stay informed and find meaningful solutions. Please chip in as little as $3 to keep this site free for all.


Visit Kelly’s profile on Pinterest.

About the Author:

Photo of Kelly R. SmithKelly R. Smith is an Air Force veteran and was a commercial carpenter for 20 years before returning to night school at the University of Houston where he earned a Bachelor’s Degree in Computer Science. After working at NASA for a few years, he went on to develop software for the transportation, financial, and energy-trading industries. He has been writing, in one capacity or another, since he could hold a pencil. As a freelance writer now, he specializes in producing articles and blog content for a variety of clients. His personal blog is at Considered Opinions Blog where he muses on many different topics.

close

Enjoy this blog? Please spread the word :)

RSS
Follow by Email
Twitter
Follow Me
Tweet
Pinterest
Pinterest
Pinterest
Instagram
LinkedIn
Share